Perhaps you're determined to stop biting your nails or peeling off your gel polish (it's a hard habit to break, I get it). Or maybe just want to maintain your nail health (yes, please!) or learn how to fake a just-from-the-salon type of mani (also yes). Whatever the case, you'll want to put nail pro (and Sally Hansen's Global Color Ambassador) Madeline Poole’s advice into action asap. Here, 12 things you need to stop doing to your nails now to keep them in tip-top shape.
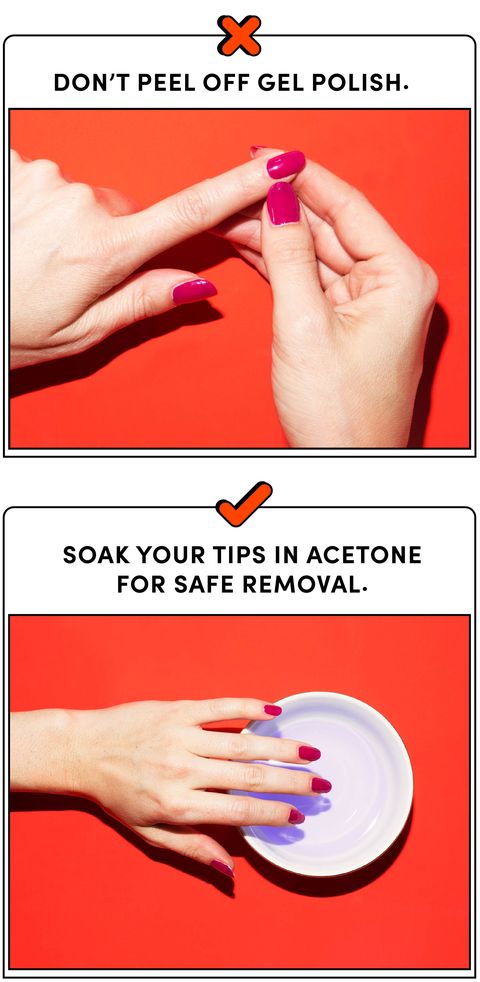
Stop … peeling off your gel mani. “The no. 1 thing I tell people not to do is peel off their gel manicure,” Poole says. “Because, as you peel the gel off, you end up peeling away super-thin layers of your nail along with the formula, which can cause divots that linger for months. Doing this can even cause your nail to peel after the fact, which will cause your polish to chip faster; plus, it just won’t look pretty.” Instead, Poole recommends soaking your nails in a bowl of acetone-based polish to loosen the gel from your nail bed. “Put a ton of cuticle oil on and around your nails first (to help hydrate them and the skin surrounding it), and soak your tips in the remover for 10 minutes,” she explains. Then, gently remove it using light pressure and the flat, slanted tip of an orange stick (a long wooden cuticle pusher) that you can pick up at any beauty supply shop or drugstore.
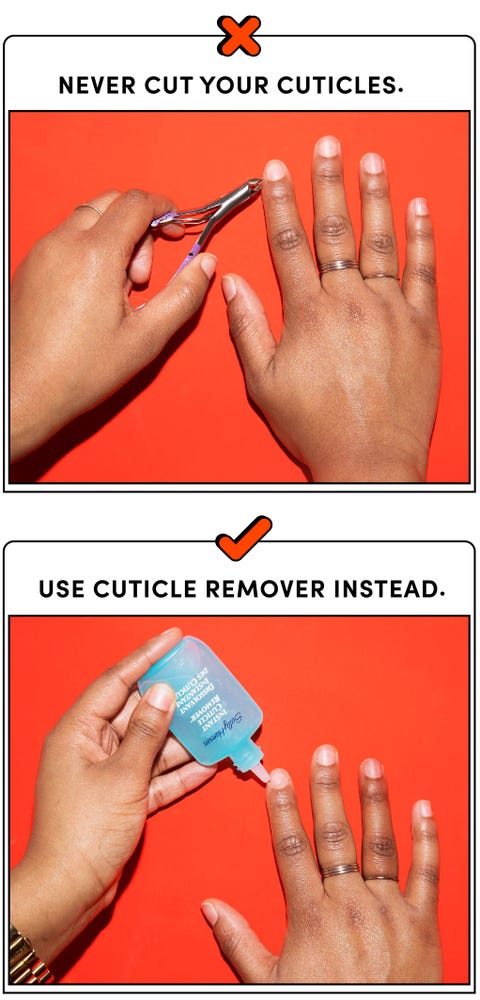
Stop … cutting your cuticles. If you have a hangnail on the side of your nail bed, it can sometimes be painful if you don’t get rid of it. However, if hangnails aren’t trimmed away properly, you can actually cause more to crop up. Poole’s advice: It’s better to never cut your cuticles and instead, apply a cuticle-removing formula over the perimeter of your nail bed, and then push your cuticle back using the flat tip of an orange stick or cuticle pusher. Then, gently remove the free-up dead skin with a tissue or the softest side of a buffing block to reveal a hangnail-free, clean-looking nail bed.
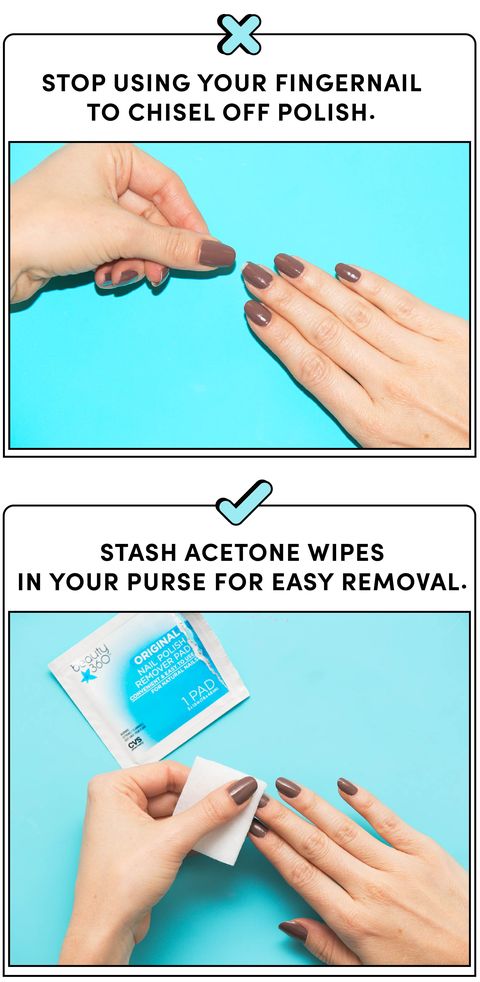
Stop … using your other nails as chisels to chip off your nail polish.Anytime you purposely chip the paint off of your nails (whether it’s a nervous habit or you’re just finally over that burgundy lacquer), you chip away microscopic layers from your nail bed. This is bad for two reasons: (1) it gives your nail a rough texture even if you can’t see it with your naked eye, and (2) “you can cause trauma to, and even chip or break the tip, of the nail that you’re using as the ‘chisel,’” Poole adds. So, to keep from hacking away at your nail polish, keep individually wrapped nail polish remover pads in your purse or pick up a nail polish removing formula that takes off lacquer in seconds.
Stop … getting water-based manicures. Think of your nail bed as a sponge: Dip it in water, and it’ll absorb the liquid and expand. Then, as it dries, it shrinks back down to its original size. Now apply that same thinking to getting a water-based manicure. “When you soak your fingertips in water to soften your cuticles, your nail expands,” Poole explains. “This normally wouldn’t be a problem; however, if you’re applying polish before it shrinks back down, your lacquer will likely chip faster.” Rather than soaking your tips in water, Poole recommends applying oil or a cuticle-removing formula on the skin around your nail bed, pushing back your cuticles with an orange stick, and then sweeping them away with a tissue.

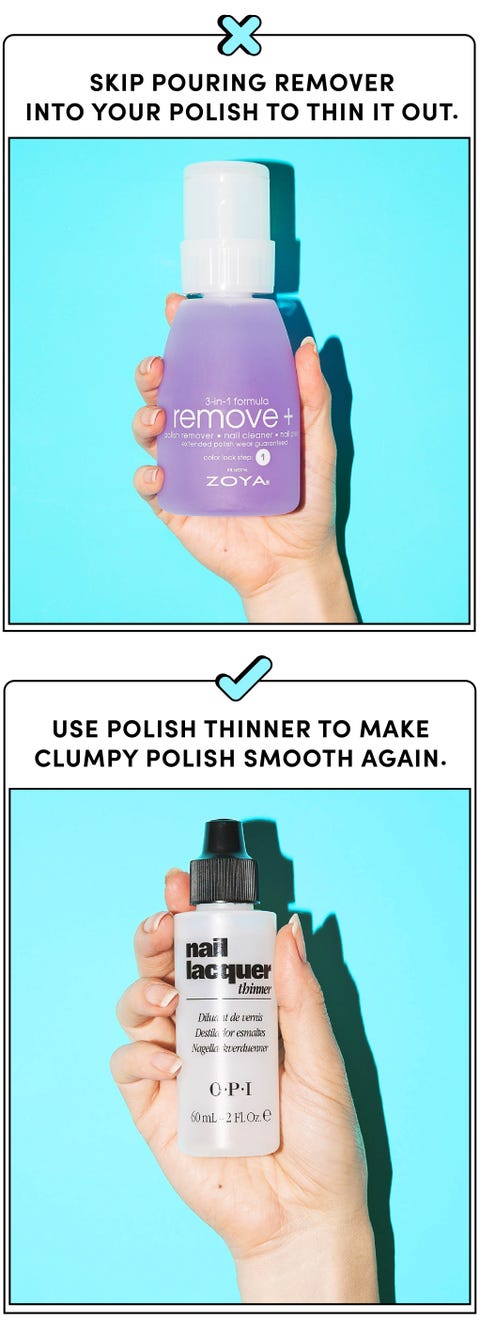
Stop … putting nail polish remover in your lacquer to thin it out. "This tip is an old wives’ tale from way back when," Poole says. “Adding remover to any polish actually actually makes the paint chip faster and the pigment become foggy, because nail polish remover isn’t one of the ingredients in nail polish. So it just ends up making the paint look less vibrant versus turning your gummy polish smooth." If extending the life of your polish is your ultimate goal, get nail polish thinner and add a few drops to your favorite shade to make thick polish swipe on evenly again. “If you add too much thinner too often though, the longevity of your polish might not be as lengthy as if you didn’t use it,” Poole warns. “It won’t mess up the quality though.”
Stop … getting acrylics. Bottom line: Acrylics are really bad for your nails' health. Not only is the formula super drying, because it’s actually suffocating to your nail bed, the application process can also cause indentations on your tips from all of the rough prep that needs to be done by the nail tech to get the acrylic to adhere to your nails. “Let’s not forget to mention how bad it is to breathe in the acrylic powder, which is full of chemicals,” Poole adds. If you want to take your nail lengths to the next level while also keeping health risks at bay, Poole prefers press-ons. “They’re way less traumatizing to the nail — and you can do them yourself,” she adds.

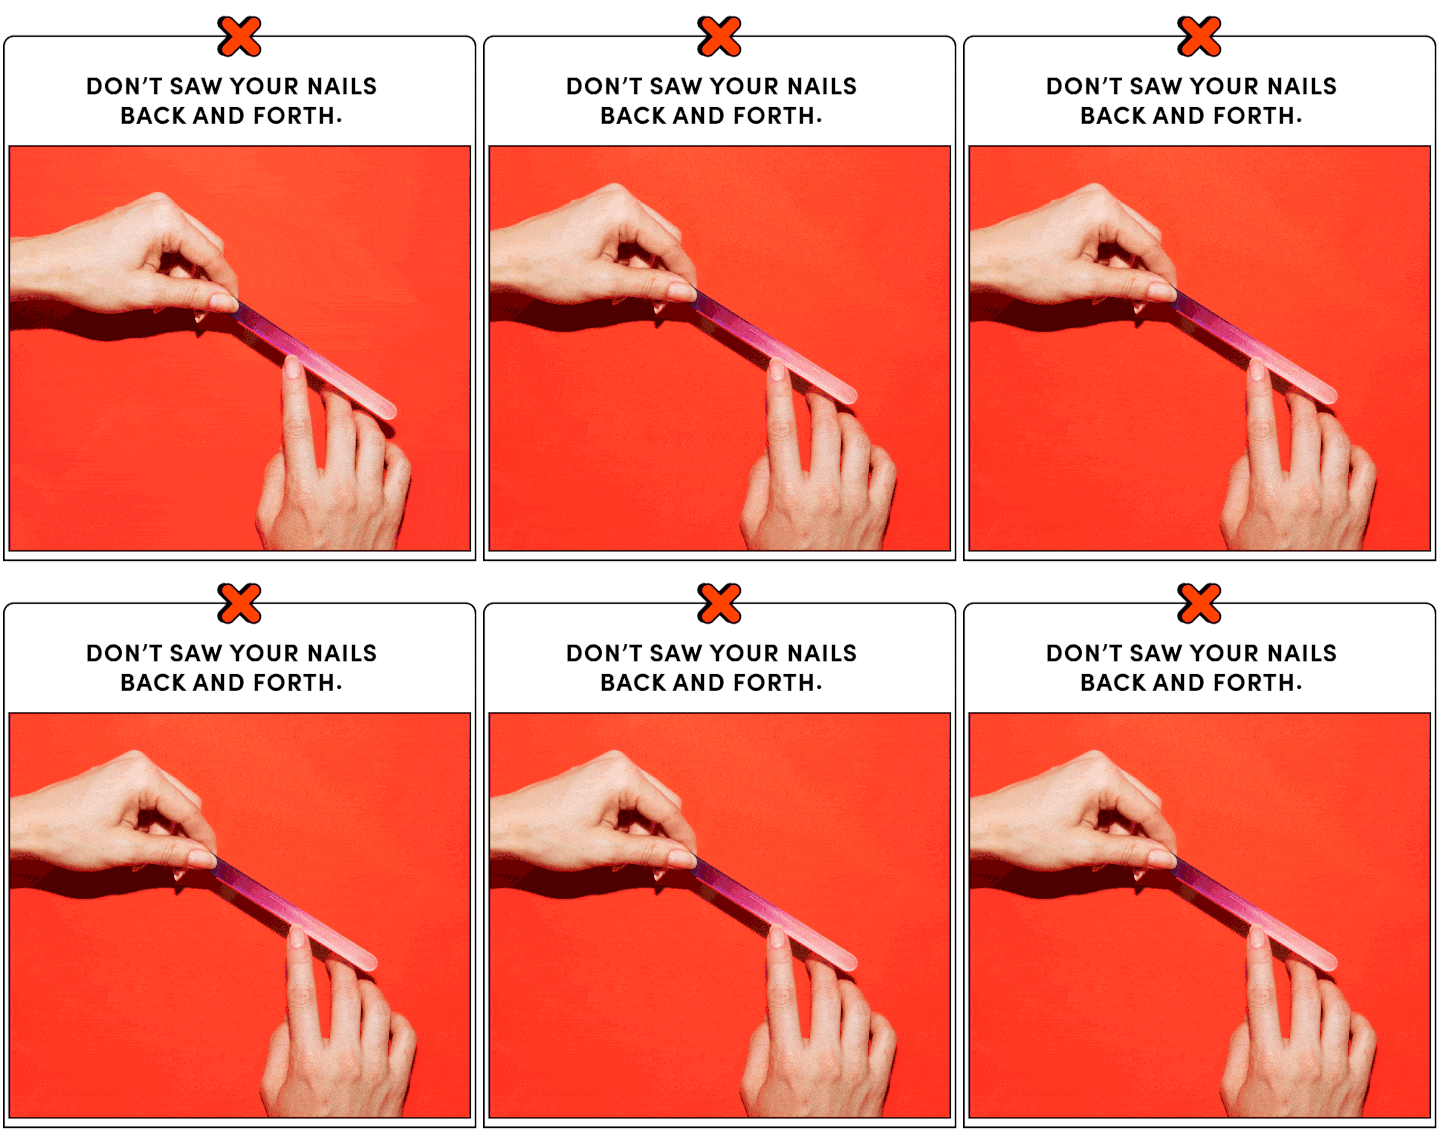
Stop … sawing your nails back and forth when you file them. "I usually liken sawing your nails back and forth to cutting your hair with a dull pair of scissors," she says. "When you aggressively saw your nails with a file, it makes the tip frayed versus a clean edge. You also have less control over the shape you're trying to create — oval, square, round, etc. — since your nail shaves down quicker when you file it too fast. "Sometimes if the manicurist is too aggressive with the file, you can even see your nail move back and forth, like a loose tooth,” she notes. This is exactly what you want to avoid — especially because all of the above is a gateway for peeling and premature breakage, since the harsh trauma of filing causes weakness.
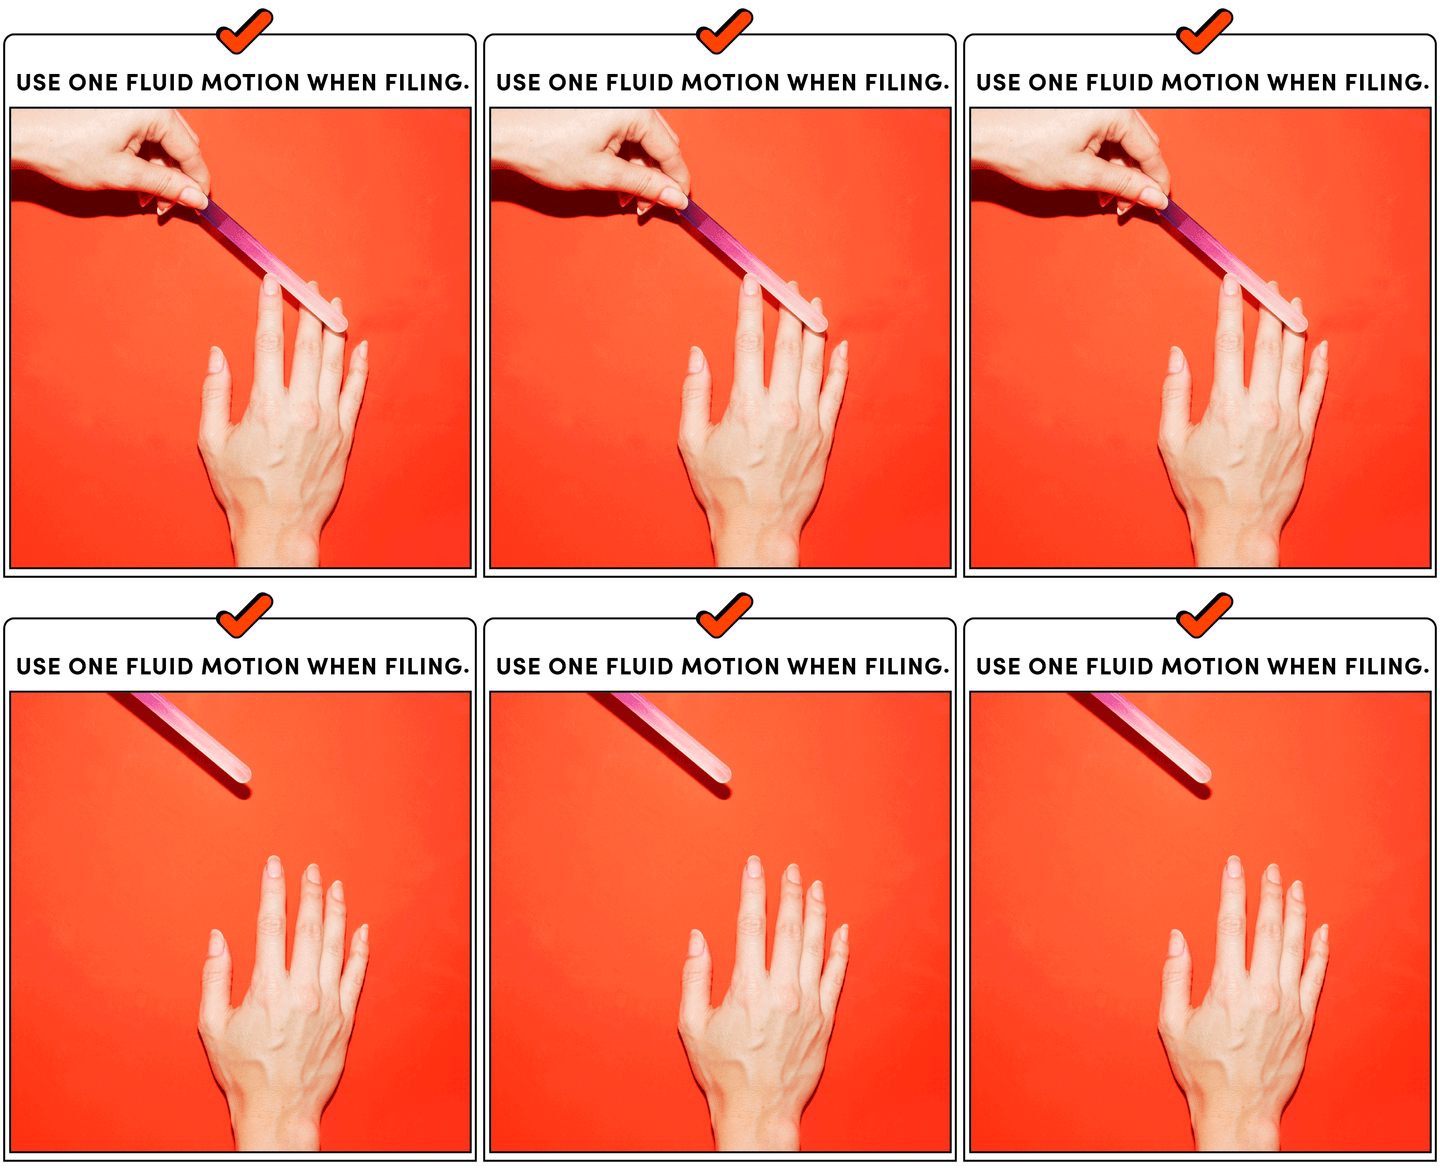
What’s the right way to file your nails? “You get the smoothest, fray-free finish when you file from the side of your nail to the center in one direction, lifting the file away from the nail, and returning to the starting point where your skin and nail connect,” Poole explains. "By using this technique, you get less of a ragged tip — plus, the fluid filing movement is less traumatic to your nail bed.” If you’ve already frayed the eff out of your free edge (aka the tip of your nail), Poole suggests trimming them ever so slightly, and then reshaping them using the fluid motion filing technique. Finally, massage some nail oil over your tips to help hydrate them.
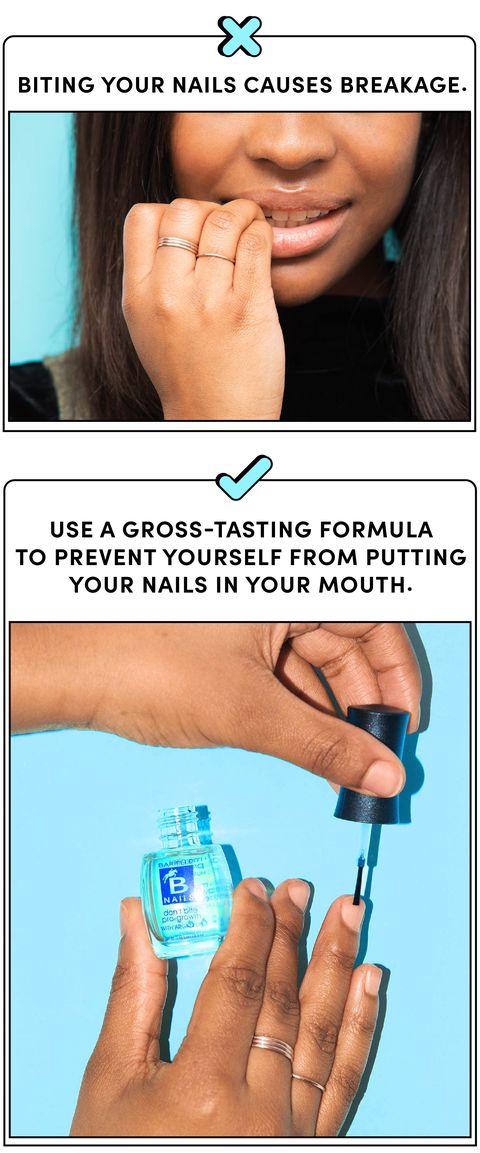
Stop … biting your nails. Biting your nails can be compared to filing them improperly. Not only does gnawing on them make their edges frayed, soaking them in a liquid aka your saliva makes them super weak. Plus, the whole experience isn’t sanitary, especially because debris, dirt, and bacteria is lodged up under your nail and is possibly going into your mouth. Eek! Have a habit you can’t quit? Poole suggests getting one coat of clear gel on your nails because “it’s too thick to bite through.” Or, you can paint on a gross-tasting formula to deter you from putting your fingers in your mouth.
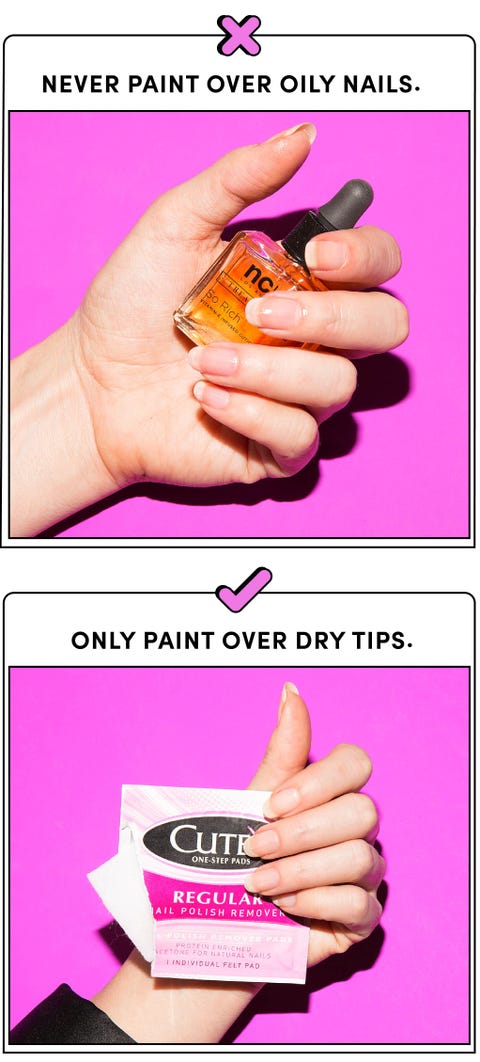
Stop … painting over oily nails. Sure, you want your nails and the skin surrounding your tips to be hydrated and hangnail-free, but applying polish over oily nail beds isn’t going to leave you with a longest-lasting manicure. “You want to start with the driest nails possible,” Poole instructs. “After you’ve done all of the steps — gently filed your nails, safely removed your cuticles, and moisturized your hands with oil or lotion — wipe only your nail beds down with a nail polish remover wipe (or dip a cotton swab into some remover and clear away any oil that way). Then, start with your base coat, add polish, and finish with top coat. Try Cutex Nail Polish Remover Pads.
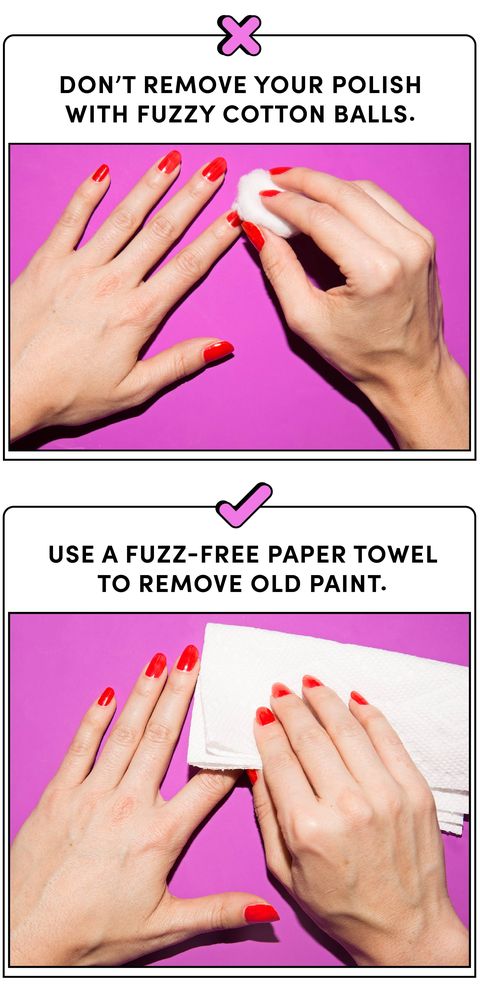
Stop ... using cotton balls to remove your polish. The reasoning behind this seems like a no-brainer, but it's always been a habit of mine to use a cotton ball, so I think it's important to note: cotton balls = fuzzies left on your nail aka your manicure will be ruined. Whereas, paper towels don't leave behind fuzz, so Poole recommends using them instead.
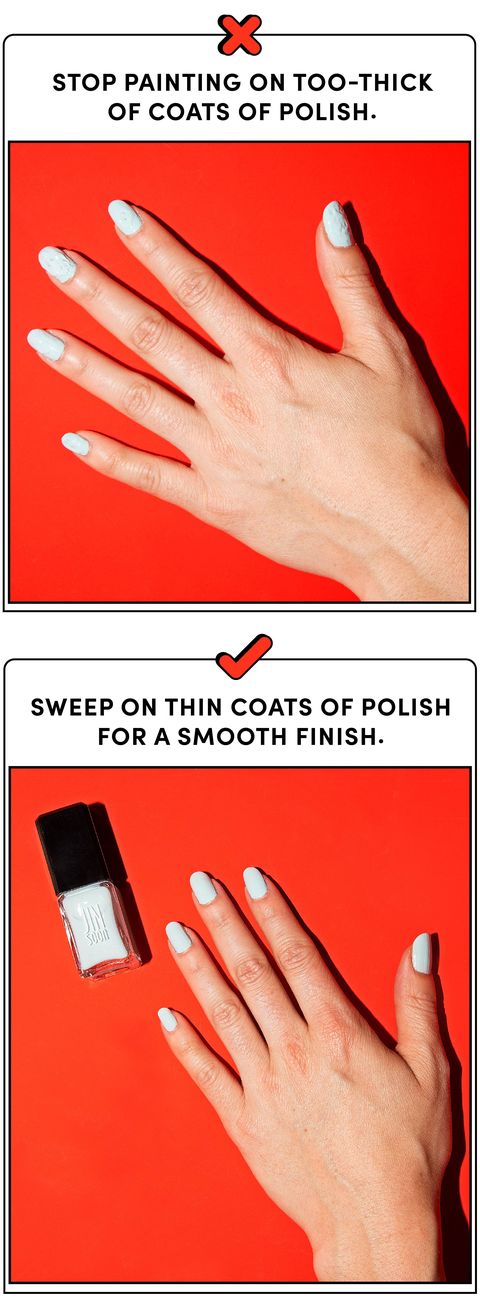
Stop … painting on thick layers of polish. Coating on a lot of layers means you’ll literally be watching paint dry (on your fingertips) for the next who knows how many hours, because they’ll take longer to fully harden. Plus, too many layers mean your application could end up looking bubbly or uneven rather than smooth. To make sure your mani comes out looking profesh, stick to two coats and allow proper drying time in between each one. “If you wait for the paint to dry in between coats, it allows all of the air to escape the formula and really seals the lacquer on your nail before applying the next coat,” Poole says. “This is the secret to a professional, long-lasting manicure. I’m also not against quick dry formulas if you don’t have a ton of time; I use the Sally Hansen InstaDry Top Coat, which is pretty amazing.” Her foolproof trick to a flawless paint job: Start with your pinky finger on your left hand and work toward the opposite pinky finger; when you land at your right hand’s pinky nail, it’s safe to begin the second coat on your left hand.
Source: newwomanindia.com


